

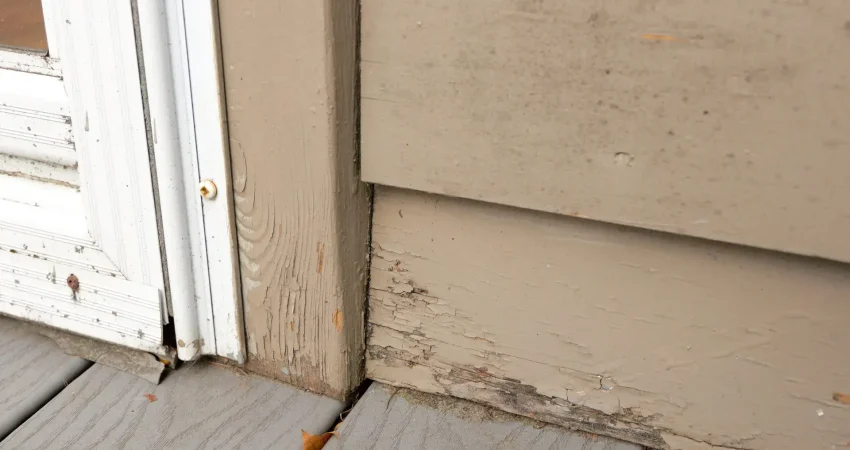
Upgrading your home’s exterior with new siding completely changes your house’s appearance. But siding isn’t completely waterproof. Whether you choose vinyl, aluminum, or high-end fiber cement, rainwater will eventually find a way behind the overlapping pieces during a heavy, wind-driven storm. Therefore, understanding the vinyl siding replacement process helps ensure you know how water protection layers work.
Your actual protection against structural rot, mold growth, and interior drafts relies on the drainage plane hidden directly beneath the exterior boards. If a crew skips the foundational wall preparation and just slaps new panels over old materials, you’re simply hiding water damage. In this case, you’re also skipping critical steps of the vinyl siding replacement process.
A proper vinyl siding replacement process requires a meticulous tear-down and prep phase. Here’s exactly what your contractor needs to fix and install before your new siding panels go up.
Strip the walls down to the bare sheathing
Some contractors try to save time by leaving old wood clapboards or degraded insulation boards on the house. Then, they nail the new siding right over the top. This is a mistake. You can’t verify the health of your home’s framing structure if it’s buried under layers of old material.
A quality installation starts by stripping the house down to the original plywood or oriented strand board (OSB) sheathing panels. Once the walls are bare, the crew must inspect the entire surface for soft spots, water stains, and dry rot. Pay close attention to the areas beneath windows and along the foundation line where water naturally pools. Any rotted or delaminated sheathing must be cut out and replaced with fresh exterior-grade panels. This gives the new siding a solid, flat surface to anchor into. Following the vinyl siding replacement process ensures long-term durability.
Install house wrap with the correct overlaps
Once the sheathing is stable, the house needs to be sealed with a high-quality weather-resistive barrier, commonly known as house wrap. This material is designed to act like a one-way valve. It stops water from entering your walls from the outside, but allows interior moisture vapor to escape so your framing can dry.
The installation pattern is everything. The wrap must start at the very bottom of the wall, extending at least an inch past the foundation intersection. Then, it should work upward like shingles on a roof. Horizontal seams must overlap by a minimum of six inches, and vertical seams need twelve inches of overlap.
Your crew should use plastic cap nails instead of simple slap staples to secure the barrier. Slap staples easily tear through the paper under high winds, creating hundreds of small holes where moisture can bypass the system. Finally, every single seam must be sealed with manufacturer-approved seaming tape. This step ensures a continuous airtight lock.
Flash the rough openings around windows and doors
The edges around your windows and doors are the most vulnerable leak points on your entire house. To seal these areas, the installation crew must execute a proper flashing sequence. This uses self-adhering flashing tape as part of the vinyl siding replacement process.
First, the house wrap is cut at the window opening using an inverted Y-pattern. The flaps are folded inside the framing and stapled down securely. Next comes the flashing tape. The crew must cut a piece of flexible flashing tape that extends at least twelve inches longer than the width of the window sill.
This sill tape is centered on the bottom frame and adhered so it runs 6” up each side jamb stud. Crucially, the tape should slope slightly outward away from the interior wall to shed water. Side flashing tapes are applied next, overlapping the sill pieces. The top head flashing goes on last, ensuring that water running down the wall naturally flows over the layers. This keeps water from running behind them.
Verify the base flashing and kick-out intersections
The final step in the prep phase is managing the boundaries where your walls meet different materials. At the base of the wall, a metal or vinyl starter flashing with an integrated drip-edge must be nailed directly to the sheathing. This forces any water traveling down the drainage plane to kick out away from the concrete foundation.
Where a roofline intersects a sided wall, your crew must install kick-out flashing. This is a specially shaped piece of metal that diverts water coming down the roof valley away from the siding and directly into the gutters. Without it, water will slide right behind your new siding panels at the wall-roof junction. Over time, this can rot out your corner studs within a few seasons.
When you’re ready to give your home’s exterior a fresh, weather-tight look, get in touch with our team for your free design consultation. In summary, following the proper vinyl siding replacement process protects your home for years to come.
Related Content:
8 Ways New Siding Can Make a Big Impact